📌 What is Resize Image Online Free - Change Image Dimensions?
Image resizing is the process of changing the width and height of a digital image to fit a specific requirement. Whether you need to shrink a large photo for a website, enlarge a small image for print, or match the exact pixel dimensions required by a government portal or social media platform, resizing is one of the most fundamental image editing tasks in everyday digital life.
Every platform has its own image size requirements. WhatsApp profile photos work best at 500×500 pixels. Instagram posts require 1080×1080 pixels for square format. Government job portals often demand photos in exact pixel dimensions like 200×230 or 413×531. Passport and visa applications specify dimensions in centimeters or millimeters — for example, India requires 3.5×4.5 cm and the USA requires 2×2 inches. E-commerce platforms like Amazon and Flipkart require product images at 1000×1000 pixels or larger for zoom functionality.
Our Resize Image tool handles all of these scenarios precisely. You can resize in pixels for digital use, or switch to centimeters or millimeters for print use with DPI control — 72 DPI for screen, 150 DPI for draft print, 300 DPI for standard print, and 600 DPI for professional high-quality output. The aspect ratio lock ensures your image never looks stretched or distorted. You can also set a target file size in KB or MB so the output meets portal upload limits in a single step — no need to compress separately afterward.
Everything runs entirely inside your browser. No images are uploaded to any server, ensuring complete privacy and instant processing without waiting for network transfers.
❓ How to Use This Tool
Resizing your image takes less than a minute with our step-by-step tool. Here is exactly how it works.
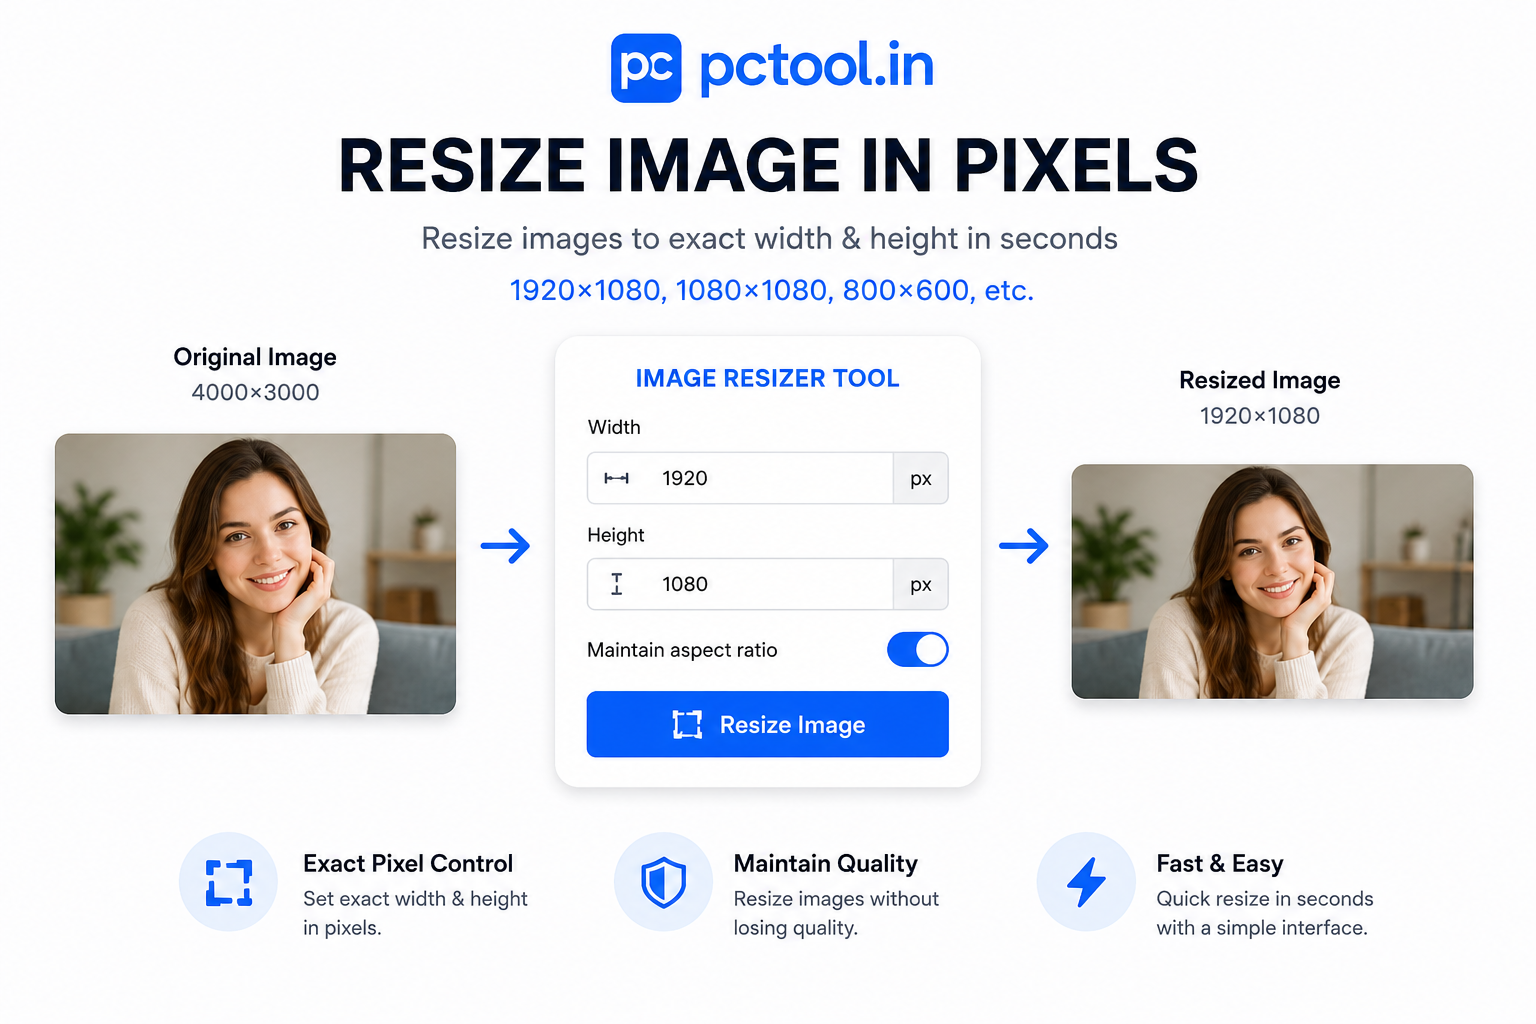
Step 1: Upload Your Image
Click the upload zone or drag and drop your image directly onto the page. The tool accepts JPG, PNG, WebP, BMP, and GIF files up to 20 MB. Once uploaded, the tool displays your image dimensions, file size, and format — so you know exactly what you are working with before making any changes.
Step 2: Choose Your Unit — Pixels, CM, or MM
Select the unit that matches your requirement. Choose Pixels for digital use such as social media, websites, app icons, and portal uploads. Choose CM or MM when resizing for print — brochures, ID cards, passport photos, or any output measured in physical dimensions. When CM or MM is selected, a DPI selector appears so you can specify the print resolution. Use 300 DPI for standard documents and photos, or 600 DPI for high-quality professional printing.
Step 3: Enter Your Dimensions
Type the desired width and height into the input fields. The aspect ratio lock button between the two fields is on by default — this means changing the width automatically recalculates the height to preserve the original proportions, preventing your image from looking stretched. Click the lock icon to unlock it if you need to set width and height independently, for example when cropping to a fixed square format.
Step 4: Select Output Format (Optional)
By default, the output is saved in the original format of your uploaded image. Optionally switch to JPEG, JPG, or PNG depending on your use case. JPEG and JPG produce smaller files ideal for photos and portal uploads. PNG preserves transparency and is better for graphics, logos, and images with text.
Step 5: Set a Target File Size (Optional)
If the portal or application you are submitting to has a maximum file size — such as "photo must be under 100 KB" — enter that value in the KB or MB field. The tool first resizes your image to the exact dimensions you specified, then applies precision compression to hit the target file size with 99% accuracy. This eliminates the need to use a separate compression tool after resizing.
Step 6: Resize and Download
Click "Resize and Download." The tool processes your image instantly in the browser and presents the result with final dimensions and file size displayed. Optionally rename the file, then click Download to save it to your device.
✓ Features & Benefits
- Resize in pixels, centimeters, or millimeters
- DPI control for print: 72, 150, 300, and 600 DPI
- Aspect ratio lock to prevent stretching or distortion
- Set target file size in KB or MB after resizing
- Output as JPEG, JPG, PNG, or original format
- Supports JPG, PNG, WebP, BMP, GIF up to 20 MB
- 100% browser-based — images never uploaded to any server
- Instant processing with real-time dimension preview
- Works on mobile, tablet, and desktop without any app
- No registration or login required — completely free
💡 Tips for Best Results
Always check the exact dimension and file size requirements of the platform before resizing. Government portals and visa applications are especially strict — even a 1-pixel difference can cause rejection. Use the pixel hint displayed below the dimension inputs to verify your converted CM or MM values are correct before downloading.
For social media, use the following common sizes as a reference: Facebook profile photo 170×170 px, Instagram post 1080×1080 px, Twitter header 1500×500 px, LinkedIn profile photo 400×400 px. For WhatsApp, a square image of at least 500×500 px gives the best display quality.
When resizing for print, always use 300 DPI or higher. Screen resolution (72 DPI) images printed on paper will appear blurry and pixelated. If your original photo is small, enlarging it significantly may reduce sharpness — start with the highest resolution photo available.
❔ Frequently Asked Questions
How do I resize an image to exact pixel dimensions?
Upload your image, make sure the unit is set to Pixels, enter your desired width and height, then click Resize and Download. The output will match your exact dimensions. Use the aspect ratio lock to maintain proportions, or unlock it to set width and height independently.
How do CM and MM resizing work?
When you select CM or MM as the unit, the tool converts your physical dimensions into pixels using the DPI value you choose. For example, 3.5 cm at 300 DPI equals 413 pixels. This is the standard method used for passport photos, ID cards, and print documents. Always use 300 DPI or higher for print output.
What does the aspect ratio lock do?
The aspect ratio lock keeps the width-to-height ratio of your original image constant. When locked, changing the width automatically updates the height proportionally, and vice versa. This prevents your image from appearing stretched or squished. Unlock it when you need to force specific non-proportional dimensions.
Can I resize and compress to a specific KB size at the same time?
Yes. Enter your target file size in the KB or MB field alongside your dimensions. The tool resizes first, then applies precision compression to hit your exact target size. This is especially useful for government and job portal submissions that require both specific dimensions and a maximum file size.
Why does my resized image look blurry?
Blurriness usually occurs when you enlarge a small image significantly — this is called upscaling and is a limitation of all resize tools. Start with the highest resolution version of your photo available. For print use, ensure you are using 300 DPI or higher rather than the default 72 DPI screen resolution.
Are my images uploaded to a server?
No. All resizing and compression happens entirely inside your browser using JavaScript. Your images are never sent to any server, ensuring complete privacy. This also means the tool works offline once the page has loaded.
What is the maximum image size supported?
The tool supports images up to 20 MB per file. There is no limit on the number of images you can resize in a single session — simply use the Resize Another option to process additional photos after each download.
📌 इमेज रिसाइझ करा ऑनलाइन - इमेजचे आकारमान बदला काय आहे?
इमेज रिसाइझिंग म्हणजे डिजिटल फोटोची रुंदी आणि उंची विशिष्ट गरजेनुसार बदलणे. सरकारी पोर्टलवर अपलोड करायचा फोटो असो, सोशल मीडियासाठी इमेज असो, किंवा प्रिंटसाठी पासपोर्ट फोटो असो — प्रत्येक ठिकाणी वेगळ्या आकाराची गरज असते.
WhatsApp प्रोफाइल फोटोसाठी ५००×५०० पिक्सेल, Instagram पोस्टसाठी १०८०×१०८० पिक्सेल, आणि भारतीय पासपोर्टसाठी ३.५×४.५ सेमी आकार आवश्यक असतो. सरकारी नोकरी पोर्टलवर अनेकदा २००×२३० किंवा ४१३×५३१ पिक्सेलचे फोटो मागितले जातात.
आमचे Resize Image टूल हे सर्व प्रकार हाताळते. पिक्सेल, सेंटीमीटर किंवा मिलीमीटरमध्ये आकार बदलता येतो. प्रिंटसाठी DPI नियंत्रण उपलब्ध आहे. Aspect ratio lock मुळे इमेज विकृत होत नाही. KB किंवा MB मध्ये target file size सेट करण्याची सुविधा देखील आहे. सर्व काम तुमच्या ब्राउझरमध्येच होते — कोणताही फोटो सर्व्हरवर जात नाही.
❓ हे साधन कसे वापरावे
पायरी १: इमेज अपलोड करा
अपलोड झोनवर क्लिक करा किंवा फोटो ड्रॅग-ड्रॉप करा. JPG, PNG, WebP, BMP, GIF फॉरमॅट सपोर्ट, जास्तीत जास्त २० MB. अपलोड केल्यावर सध्याचे आकारमान आणि फाईल साइज दिसेल.
पायरी २: युनिट निवडा
डिजिटल वापरासाठी Pixels निवडा. प्रिंटसाठी CM किंवा MM निवडा आणि DPI सेट करा — सामान्य प्रिंटसाठी ३०० DPI, उच्च गुणवत्तेसाठी ६०० DPI.
पायरी ३: आकारमान टाका
Width आणि Height फील्डमध्ये हवे ते आकारमान टाका. Aspect ratio lock चालू असताना रुंदी बदलली की उंची आपोआप बदलते. स्वतंत्र आकारमान हवे असल्यास lock बंद करा.
पायरी ४: आउटपुट फॉरमॅट निवडा (ऐच्छिक)
JPEG, JPG किंवा PNG निवडा. काहीही न निवडल्यास मूळ फॉरमॅट राहतो.
पायरी ५: Target File Size सेट करा (ऐच्छिक)
पोर्टलवर "जास्तीत जास्त १०० KB" अशी अट असल्यास KB फील्डमध्ये टाका. टूल रिसाइझनंतर compression करून अचूक साइज देते.
पायरी ६: Resize करा आणि डाउनलोड करा
"Resize and Download" दाबा. निकाल तत्काळ मिळतो. फाईलचे नाव बदलून Download करा.
✓ वैशिष्ट्ये आणि फायदे
- पिक्सेल, सेंटीमीटर आणि मिलीमीटरमध्ये रिसाइझ
- प्रिंटसाठी DPI नियंत्रण: ७२, १५०, ३०० आणि ६०० DPI
- Aspect ratio lock — इमेज विकृत होत नाही
- KB किंवा MB मध्ये target file size
- JPEG, JPG, PNG किंवा मूळ फॉरमॅटमध्ये आउटपुट
- JPG, PNG, WebP, BMP, GIF सपोर्ट (२० MB पर्यंत)
- १००% ब्राउझर-आधारित — सर्व्हरवर अपलोड नाही
- मोबाइल आणि डेस्कटॉपवर काम करते
💡 सर्वोत्तम परिणामांसाठी टिपा
रिसाइझ करण्यापूर्वी पोर्टलचे अचूक आकारमान आणि फाईल साइज तपासा. प्रिंटसाठी नेहमी ३०० DPI किंवा जास्त वापरा. ७२ DPI च्या इमेजेस प्रिंट केल्या तर धुक्यासारख्या दिसतात. Instagram साठी १०८०×१०८० px, WhatsApp प्रोफाइलसाठी ५००×५०० px वापरा.
❔ वारंवार विचारले जाणारे प्रश्न
अचूक पिक्सेल आकारमानात रिसाइझ कसे करावे?
इमेज अपलोड करा, Pixels युनिट निवडा, Width आणि Height टाका आणि Resize and Download दाबा. आउटपुट तुमच्या अचूक आकारमानात मिळेल.
CM आणि MM रिसाइझिंग कसे काम करते?
CM किंवा MM निवडल्यावर टूल DPI वापरून पिक्सेल मोजतो. उदाहरणार्थ ३.५ सेमी × ३०० DPI = ४१३ पिक्सेल. पासपोर्ट, ID कार्ड आणि प्रिंट दस्तऐवजांसाठी हे वापरा.
Aspect ratio lock म्हणजे काय?
हे चालू असताना रुंदी बदलली की उंची आपोआप बदलते — इमेज ताणलेली दिसत नाही. स्वतंत्र आकारमान हवे असल्यास lock बंद करा.
रिसाइझ आणि compression एकाच वेळी करता येते का?
होय. KB किंवा MB फील्डमध्ये target size टाका. टूल आधी रिसाइझ करते, नंतर अचूक compression करते. सरकारी पोर्टलसाठी खूप उपयुक्त.
माझ्या फोटो सर्व्हरवर जातात का?
नाही. सर्व प्रक्रिया तुमच्या ब्राउझरमध्येच होते. कोणताही फोटो कोणत्याही सर्व्हरवर पाठवला जात नाही.